The Foundation Plate is one of the new accessories for the pi-top [4]. It connects to the PMA connector found on the bottom of the pi-top[4] and allows you to connect a variety of sensors to get coding instantly!
The Foundation Plate has 16 Ports along its edge. These are a mixture of 4 x Analogue, 8 x Digital and 4 x I2C Ports. All of these ports have 3V3, GND and 2 data pins. You can see the key on the bottom of the Foundation Plate to gure out which of those pins are data and which are 3V3 and GND. The ports are 4 pins with 2.00mm pitch. We've tried to play well with others so all of these ports are also completely compatible with all of the Grove Sensors created by Dexter Industries and Seeed Studios.
Digital Ports
The Digital ports are all connected to different GPIOs and the underside of the Foundation Plate shows which port is connected to which GPIOs. They're all connected directly to the Raspberry Pi pins, so if 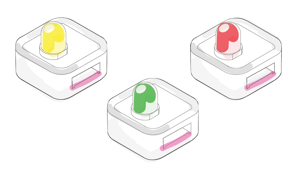 you're using the pins on the 40 pin header on the top of the pi-top[4] then they'll also be used on the Foundation Plate at the same time. If the pins or ports have secondary functions as well, they you can see them labelled as well! These ports connect up to our digital sensors in the Kit such as the LEDs, Buzzers, Switches and Ultrasound Sensors.
Analogue Ports
The Analogue ports are all connected to our Foundation Plate. The Foundation Plate has its own onboard ADC, much like the pi-topPROTO+, and is transmitting that data to the pi-top [4] via I2C. The Plate has a I2C Address of 0x04. The maximum voltage the ADC pins can read is 3.3 Volts. 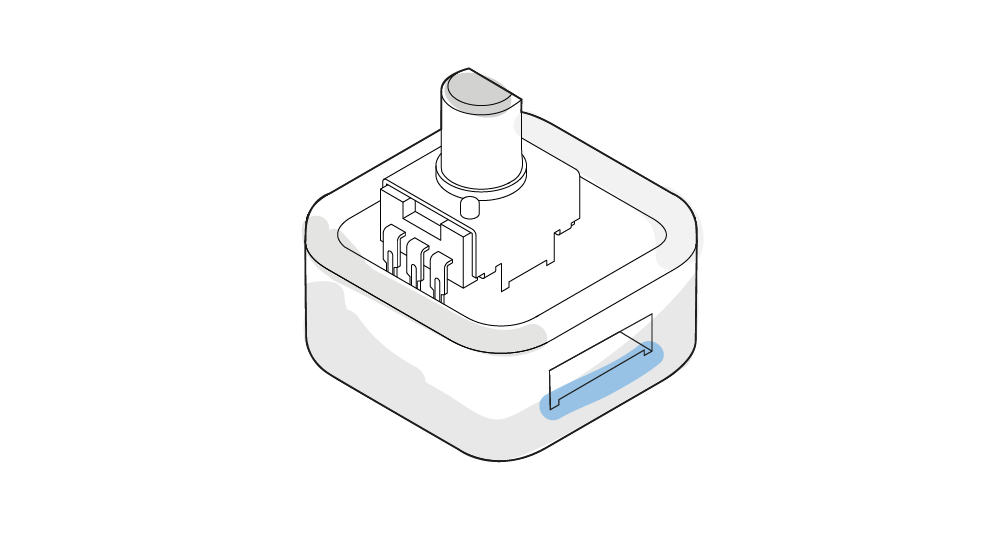 Be careful putting a voltage any larger than that through the pins as it will most likely damage the ADC pins if not they whole ADC! All of the pins also have capacitors connected to GND. These ports connect up to our analogue sensors in the Kit such as the Potentiometer (Variable Resistor/Pot Resistor), Light Sensor and the Sound Sensor.
I2C Ports
The I2C ports are all connected to GPIO2 (I2C_SDA) and GPIO3 (I2C_SCL). They're also all connected to one another. Remember that if you're trying to detect a device connected to the pi-top [4] using sudo i2cdetect -y 1 then you'll have to remember that the pi-top [4] Hub MCU will appear, as well as the ADC on board the Foundation Plate.
Labelling
The bottom-side of the Foundation Plate has all the port labels. The copper text on your Foundation Plate is the name of the port and the silkscreen is the GPIOs that are available on that pin.
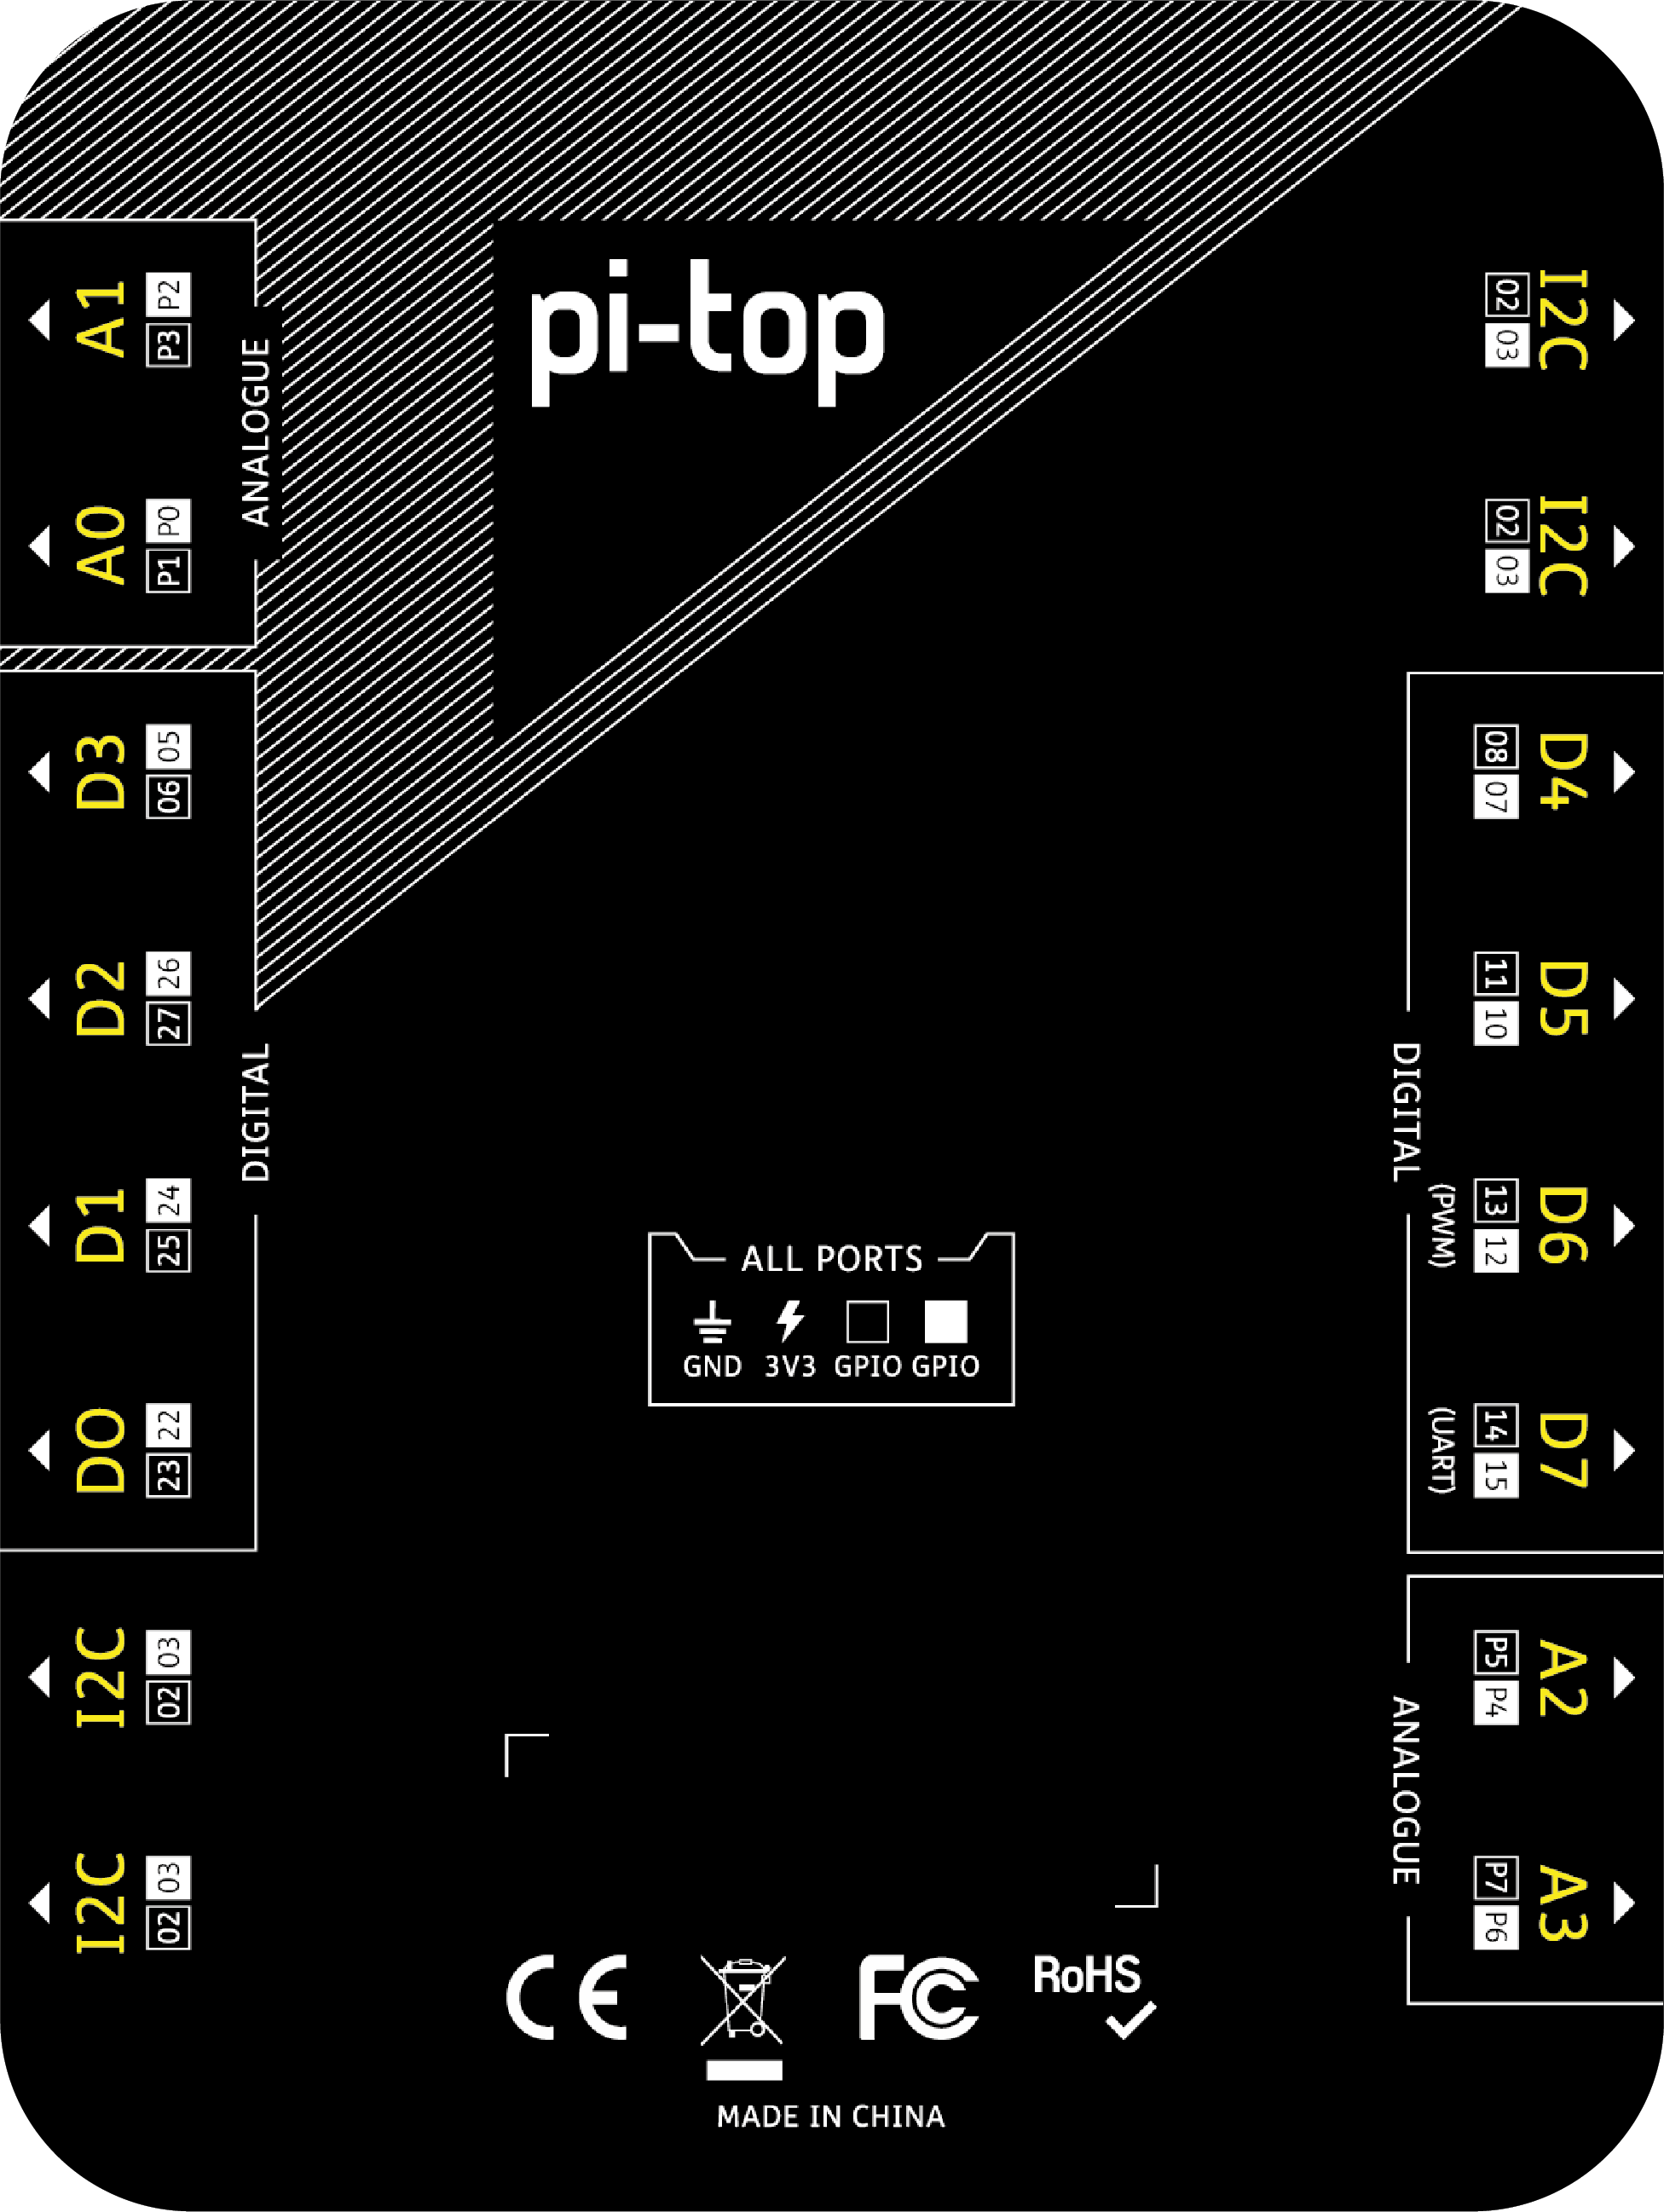
All the Digital Ports begin with D and are connected to two GPIOs on the Raspberry Pi
All the Analogue ports begin with A and are connected to two Analogue-to-Digital pins on the MCU of the Foundation Plate
The Foundation Plate draws its 3V3 voltage from the pi-top[4] and has a maximum current rating of 1 A. This 3V3 supply is connected to the 3V3 supplied from the top of the pi-top [4] so be careful when drawing current from both sides.