HDMI Reset Option
The pi-top [4] mini screen’s system preferences menu has an HDMI reset option. This will set the resolution of all displays to the highest common resolution, and mirror them.
To do this, first press the yellow circle button on the top of the pi-top [4] to see the settings icon. Press the yellow circle again to enter the settings. Use the arrows to navigate through the menu until you see the screen and refresh icon and then press the circle button again.
Set HDMI Audio
It's possible to switch audio from the pi-top [4]'s onboard speaker to the micro HDMI port so that audio comes through a connected TV or display. In order to do this, right click on the audio icon that appears in the system tray.
A dropdown menu will appear showing Analog and HDMI with a tick next to Analog. Left click on HDMI to switch the audio to HDMI.
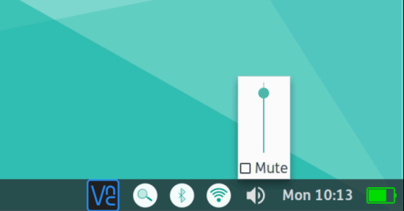
If you need to adjust the audio, you can do this from your keyboard, or by left clicking the audio icon and dragging the slider
If you're trying to use HDMI over the HDMI Adapter of the Display Cable, they you'll have to run a command in terminal.
amixer -q cset numid=3 3
This will allow HDMI Audio to come through the Display Port rather than the default of the Raspberry Pi. If you want to switch the Audio back to the onboard speaker, then follow the instructions at the beginning of this section, but pick Analog instead of HDMI.
Using Raspberry Pi's 4k at 60fps (4k60)
Enabling 4k60 means that it will be taken as standard, if available. We have noticed that this is not particularly stable at this time, and is not recommended. For most applications, this is not necessary.
In particular, the mechanism that is used to ensure that VNC can be used without a display attached (forcing HDMI output on HDMI1) seems to cause problems with this setting.