If your pi-top is pretty out of date or needs a reset, this guide is for you. Reinstalling the software on your SD card (AKA 'reflashing' or 'burning' the SD card), will give you a fresh start.
Here's what you'll need:
- MicroSD card (included with your pi-top device)
- A computer with a microSD card slot, or an adapter to connect microSD to your computer (e.g. SD or USB adapter)
This process will delete all data on the SD card, including any files you created on your pi-top with the previous OS. Please create backups of any files on your pi-top you do not want to lose.
Step 1 - Download pi-topOS from our website.
Please make sure that you are always using the latest release (you can check this by comparing the date in the filename to the date in the release on our OS download page).
Step 2 - Remove the microSD card from your pi-top [4]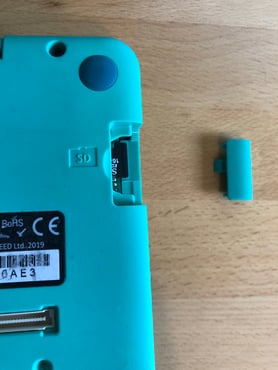
The microSD card can be found inside a slot on the bottom of your pi-top. Remove the cover and set it aside. Be careful not to lose it! Slide the microSD card from the slot.
Step 3 - Insert the microSD card that you want to write to into your laptop or PC.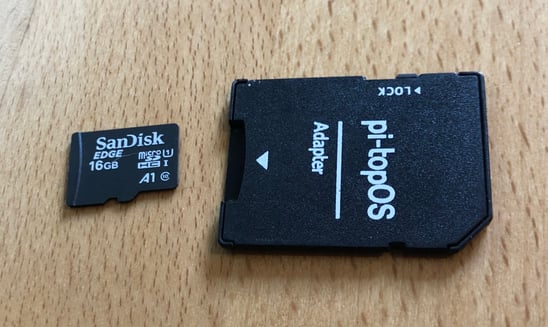
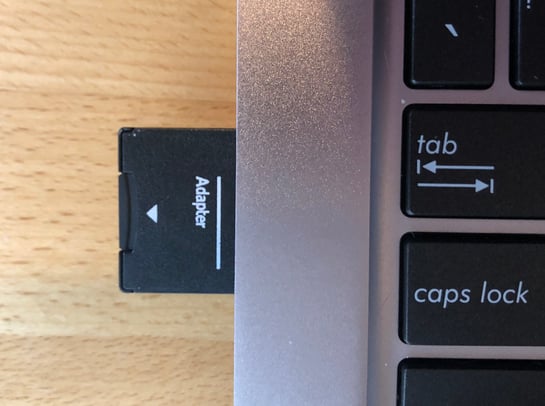
If you computer does not have a microSD card slot, you will need to use an adaptor to connect the microSD card. If your computer has the larger type of SD card slot you can use a microSD-to-SD adapter as pictured above. Otherwise you will have to use a microSD-to-USB adapter, either USB-A or USB-C depending on what your computer supports (example).
Let's get started!
There's a great tool called Etcher, which is specifically designed to write operating systems to SD cards and USB drives. Please download and install this software from the link above.
It works the same on Windows, Linux and OS X and is incredibly easy - with only 3 steps!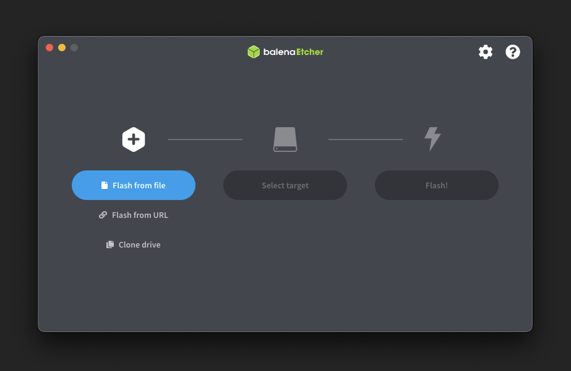
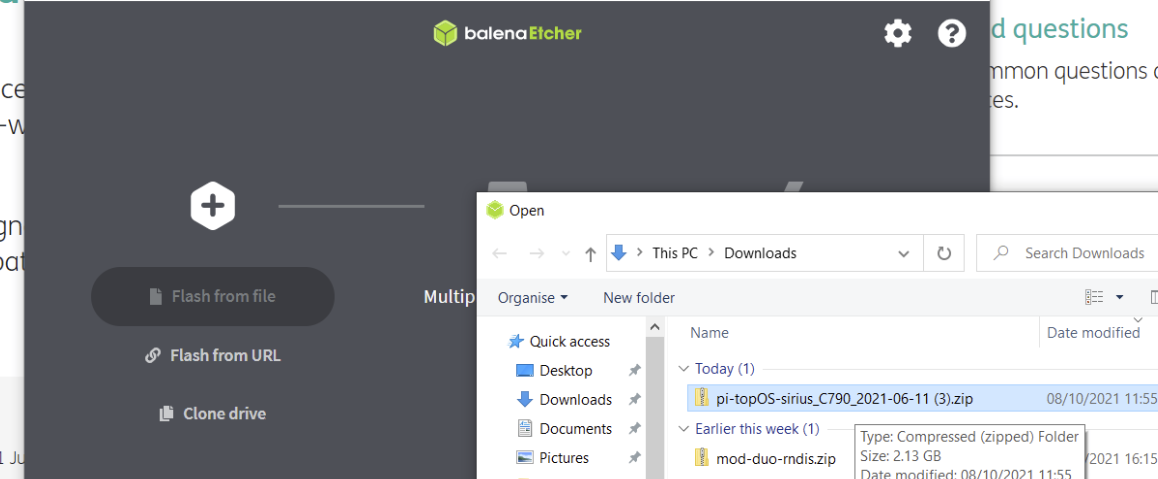
1. Select the zip file that you just downloaded. You could extract the image onto your hard drive first, but Etcher is clever and extracts the file whilst it writes, so why bother?
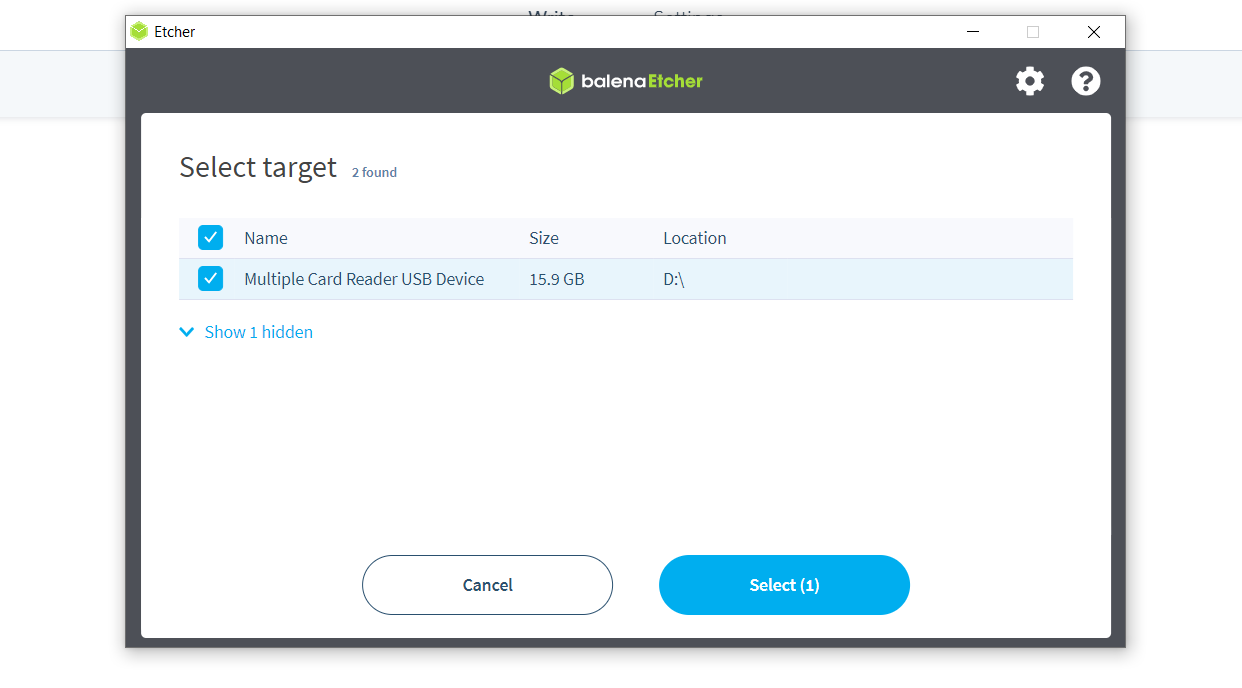
2. Select the SD card from the list. If there are multiple drives that are available, make sure that the drive you select is the correct size, to prevent writing to the wrong drive. If you are not sure which drive to write to, then remove all other drives until only the SD card is in the list.
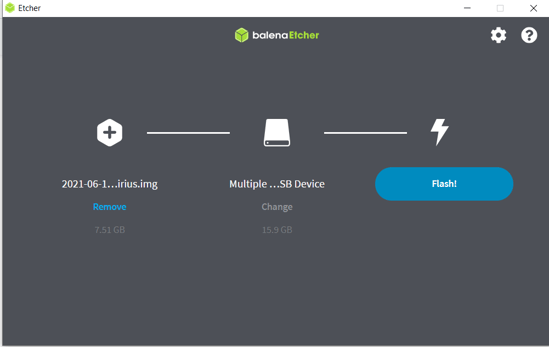
That's it! Etcher will install pi-topOS for you (AND it also verifies that it was 100% correctly written). Then all you need to do is plug the microSD card back into your pi-top [4], replace the green cover, and switch on the device.