Troubleshooting
Here are some of the checks you can make.
- Check the pi-top [3] Power Supply Unit is fully inserted and the green LED on the hub is lit
- Look for the Red Power Light and the Green Activity Light on the Raspberry Pi
No Green Activity Light on the Raspberry Pi means that the image on the Raspberry Pi is either corrupted or not installed correctly.
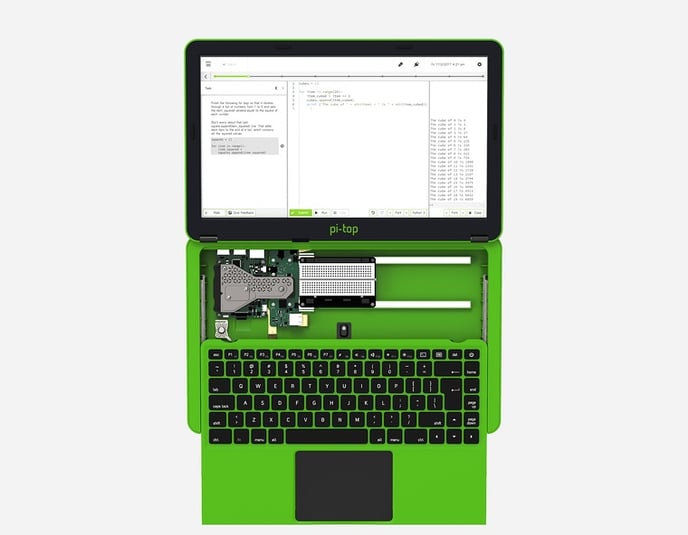
- Check your pi-top [3] has been built correctly.
There are a few more checks you can make but only when the pi-top [3] is completely powered off.
- The Raspberry Pi has been inserted correctly with a good connection into the USB ports.
- The Cooling Bridge has the correct Thermal Pad affixed to the Heatsink.
- The Cooling Bridge has a good connection with the Raspberry Pi pins and clicks into place on the Hub.
Lastly, you can also check that the cables for the screen are correctly inserted. This is a little finickity so be careful doing this!
Reinserting the eDP Cables
As with all computer repairs, touch any metallic surface of the computer so as to discharge any static on your persons and ground yourself. The best place here is the cooling bridge (all you need to do is touch the metallic surface of the cooling bridge while it is connected to the hub and Raspberry Pi. It's best not to be wearing any polyester on your hands or feet either (nor doing the work on carpet) so that you're well grounded to the earth
- Firstly power off the device, remove the add-ons from the modular rail, and disconnect the power supply. Also unscrew the Cooling Bridge, put it to the side and slide the hub out of the Raspberry Pi (The magnetic SD card removal tool is great for holding onto the screws).
- Unscrew the Hub from the base and rotate it so that the HDMI connector on the hub comes up and points away from Raspberry Pi and the underside of the hub is now visible. Do this step slowly being mindful of the cables. Also put the screwdriver away to the side so as not to accidentally touch the underside of the hub with it.
- You'll see three flat ribbon cables, two at the top and one at the bottom. The one at the bottom has a security sticker so do not disconnect this cable. The two at the top are the video cables, they provide power and video data to the screen, these are the ones we'll be disconnecting and reconnecting.
- These cables are inserted into flat white connectors that have a black bar. The black bar has to be pulled away from the white connectors whilst applying pressure to either end of the bar. You need very little force to pull the bar out (it only comes out a few milimetres). Once the bar has been released, the cable can be removed. Remove both cables, remembering which cable goes into which connector and then reinsert them into their respective connectors by pushing the black bar back into the white connector to lock the cables into place. Then reverse the steps above to rebuild the pi-top.
You will not void your warranty by doing these steps, though if the connecters are found to be damaged during a repair, then your warranty will be void.