Introducing the new pi-top USB cable and how it works!
The pi-top USB cable comes as part of newer pi-top[4] kits, replacing the green Display Cable. If you prefer a wired connection you can use it to connect to your pi-top [4] for setting up, running code from Further, using VNC and more!
If you are having trouble finding this cable with your new pi-top [4] please check the box thoroughly, it comes in a section underneath the main pi-top [4] body.
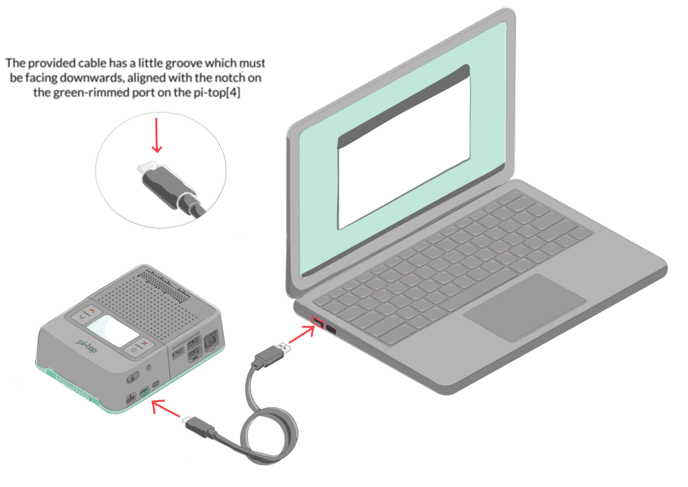
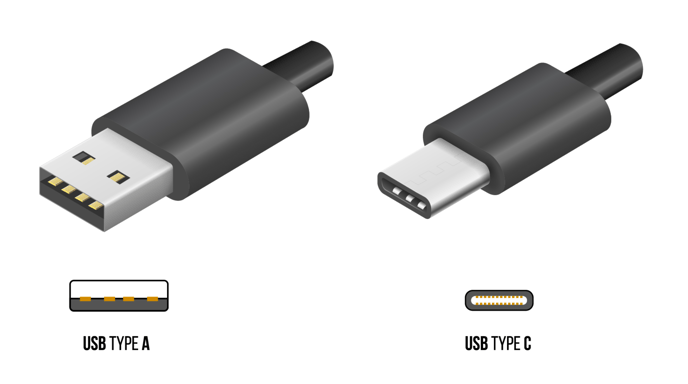
The pi-top USB cable has a USB-A connector on one end, and something similar to a USB-C connector on the other end, though it isn't quite the same. The USB-C end of the cable has a little groove in it which must be aligned correctly with the notch on the green-shrouded port on the pi-top[4].

To use this cable to connect to your pi-top[4], insert the USB-A end into your laptop or computer, and insert the other end into the green-shrouded port on your pi-top[4]. This will create a network between your pi-top and computer, allowing you to access the pi-top at the IP address 192.168.64.1. This IP address should be shown on your pi-top[4] Miniscreen to confirm a successful connection.

Troubleshooting
If this method does not work you may need to install additional Windows drivers using this guide.